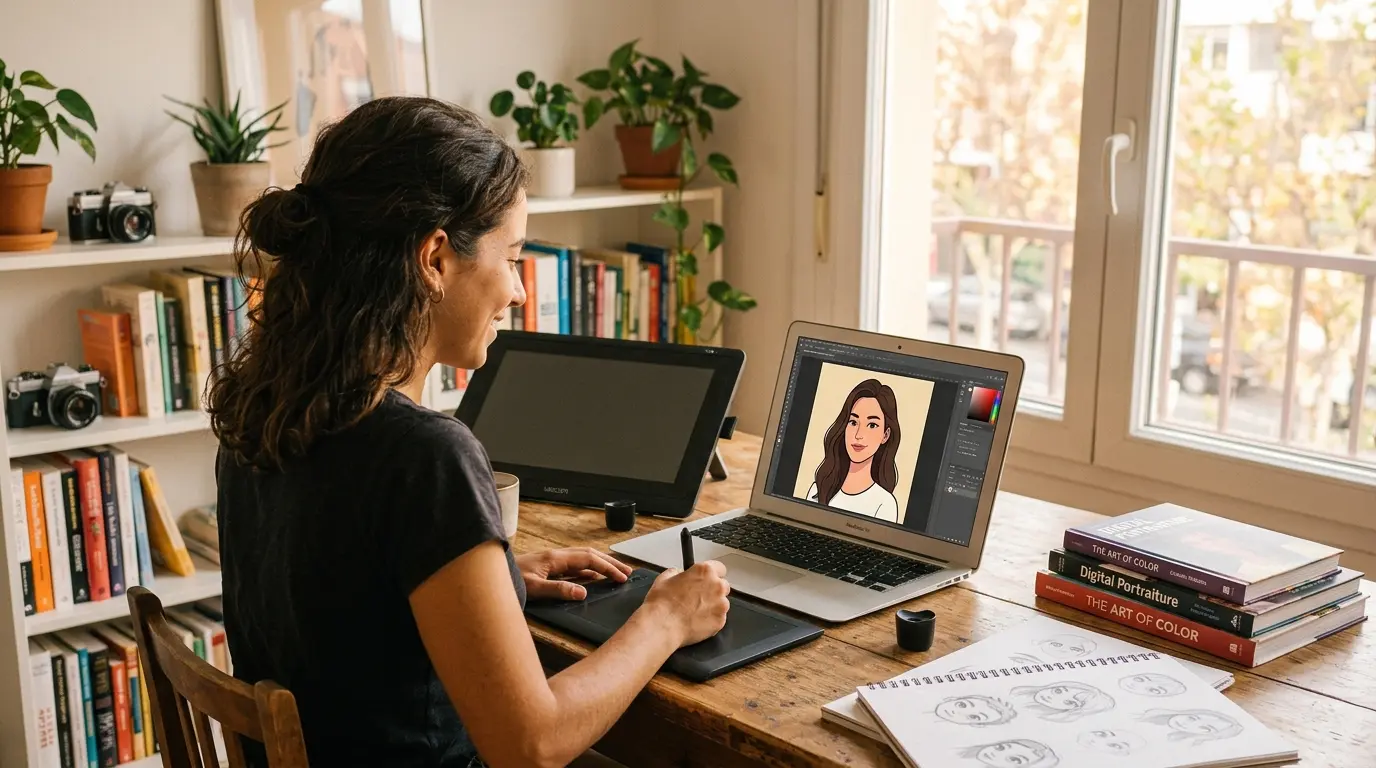
The fastest way for how to turn photo into cartoon projects is to upload it to an AI cartoon converter, pick a style, and download the result. Most tools finish in seconds. For more control, apply the Cartoon filter in a free editor like GIMP and adjust the mask radius and percent black settings.
Introduction
You’ve got a photo you like. Maybe it’s a selfie, a pet, or a family picture, and you’d love to see it redrawn like a frame from an animated show. So you search for how to turn photo into cartoon and land on a pile of apps, converters, and tutorials that all promise the same thing in three clicks.
Here’s the catch. Two things decide whether your cartoon looks great or looks like a smudged filter: the photo you start with and the style you pick. When learning how to turn photo into cartoon, the tool matters less than most roundups suggest.
I wrote this guide to cover all of it. I’ll explain what happens behind the scenes, walk through three practical methods, and share the photo tips and mistakes that make the biggest difference. If you’re curious about ai photo transformation in general, cartoons are a friendly place to start, because you can tell right away whether the result worked.
You can follow along with a single picture. If you just want the quickest route for how to turn photo into cartoon, X2X Converter offers a free photo cartoon effect in the browser, so there’s nothing to install. Everything below applies to that tool or any other.
What Turning a Photo Into a Cartoon Means
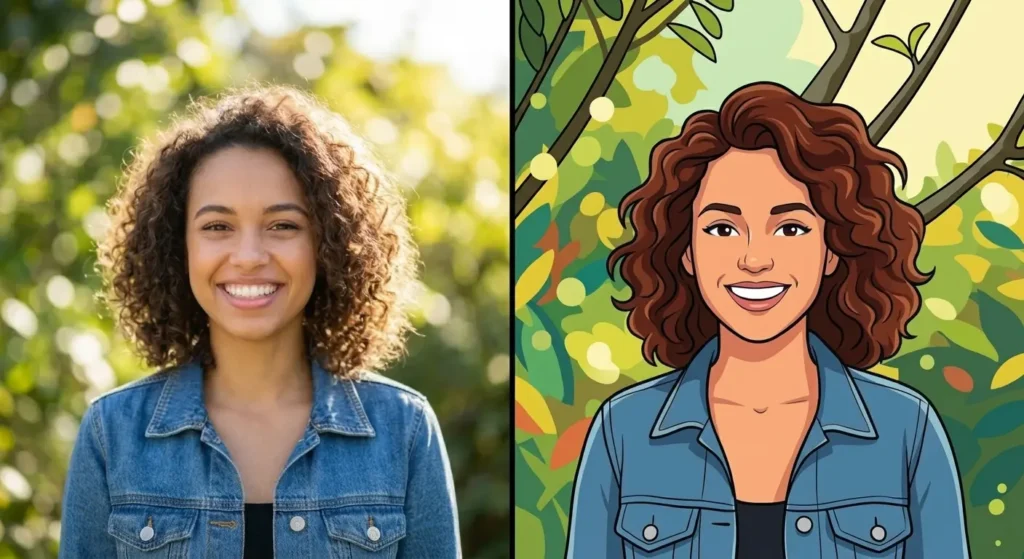
Understanding how to turn photo into cartoon graphics means restyling a real photograph so it looks hand-drawn or animated. The usual changes are simplified colors, bold outlines, softer shading, and sometimes exaggerated features. The subject stays recognizable, but the realism drops away.
People use several words for roughly the same idea. “Cartoonize” is the common verb. You’ll also see “cartoonify,” “toonify,” and “comic effect.” They aren’t identical, and the style you choose changes the result more than the name on the button does.
Here are the styles you’ll run into most often when testing how to turn photo into cartoon options:
| Style | What it looks like | Best for |
| Classic flat cartoon | Bold outlines, flat color patches | Profile pictures, social posts |
| Comic book | Heavy ink lines, halftone-style shading | Posters, party invitations |
| Anime or manga | Large eyes, clean linework | Avatars, gaming profiles |
| 3D animated look | Smooth skin, rounded shapes | Portraits, birthday cards |
| Sketch or line art | Outlines with little or no color | Coloring pages, drafts |
| Caricature | Deliberately exaggerated features | Gifts, humor |
A caricature is its own thing. It exaggerates features on purpose, while most automatic filters keep proportions close to the original. If you want a big head and tiny body, check that the tool actually offers it.
Photo-to-Cartoon Converter vs AI Image Generation
When exploring how to turn photo into cartoon outputs, a photo-to-cartoon converter starts from your photo and restyles it, so the pose, composition, and face stay the same. Text-to-image generation starts from a written prompt and invents a brand new picture. One is a transformation. The other is creation from scratch. If you want a cartoon that still looks like you, you want the first one.
How a Photo Cartoon Effect Works
A photo cartoon effect works by simplifying the colors in a picture and strengthening its edges. Older tools do that with fixed math rules. Newer AI tools learn what cartoons look like from many examples and redraw your photo in that style.
The classic filter method
Classic filters follow a recipe. First they smooth the image so small textures like skin pores and fabric grain disappear. Then they cut the number of colors so similar shades merge into flat patches. Finally they find edges and draw them as dark lines.
That last step usually relies on edge detection. One famous example is the Sobel operator, which Irwin Sobel and Gary Feldman presented in 1968. It estimates how quickly brightness changes from one pixel to the next, and sharp changes become outlines.
The weakness is obvious once you see it. The filter treats every pixel the same way. It can’t tell a face from a wall. Shadows turn into black blobs, and a busy background becomes a tangle of lines.
The AI method
AI converters offer a modern approach to how to turn photo into cartoon transformations. Instead of following one fixed recipe, a neural network learns from examples. One well-known approach is neural style transfer, where an algorithm takes a content image and a style image and produces a third image that balances how much it keeps of each.
Another is CartoonGAN, a 2018 CVPR paper by Yang Chen, Yu-Kun Lai, and Yong-Jin Liu. It trains a generative adversarial network on photos and cartoon images, and it adds an edge-promoting loss so outlines stay clear instead of turning fuzzy.
In plain terms, the network learns that eyes, hair, and clothing are different things and styles each one on its own terms. That’s why AI results usually look cleaner than a basic filter, and why this kind of ai photo transformation keeps faces recognizable more often.
Here’s my opinion, so weigh it as one. For faces, AI wins almost every time. For landscapes, buildings, and objects, a classic filter can look just as good and gives you more control over the final look.
Turn Photo Into Cartoon in GIMP (Free Method)
To turn a photo into a cartoon online, upload a clear picture to an AI converter, choose a style, check the preview, and download the file. Most online converters return a result in seconds, and the process works in any modern browser on a phone or computer.
Here’s the routine I’d follow:
- Pick a clear photo. Face forward, soft light, one main subject. The next section explains why.
- Open an online converter. I like browser-based tools because there’s nothing to install and they run on any device. The free cartoon filter for photos at X2X Converter works this way.
- Upload the original file. Chat apps often shrink and compress images, and that costs detail. Use the full-size version when you can.
- Choose a style or effect strength if the tool offers one. Start with the default. Then change one setting at a time so you can tell what each one does.
- Inspect the preview at full size. Zoom in on the eyes, mouth, and hairline. Those are the spots where AI cartoons tend to slip.
- Download and keep the original. If the result feels off, try a different crop before you blame the tool.
A quick note on step five. A cartoon can look fine as a thumbnail and fall apart when you zoom in. If you plan to print it or use it as a banner, check it at the size you’ll actually use.
What Makes a Good Source Photo for a Cartoon?
When researching how to turn photo into cartoon effectively, remember that the best photos are sharp, evenly lit, and front-facing, with one clear subject and a simple background. The converter can only restyle what it can see, so a clean input gives it far more to work with.
Think about what the tool has to decide. It has to find the face, separate it from the background, work out where the eyes and mouth are, and then redraw all of it. Anything that confuses that process shows up in the cartoon.
| Photo problem | What usually happens | Easy fix |
| Harsh shadows across the face | Dark patches turn into heavy black shapes | Shoot near a window or in open shade |
| Wide-angle selfie close to the lens | Nose and forehead look distorted | Hold the phone at arm’s length and zoom in slightly |
| Busy background | Messy lines and noise around the subject | Crop tighter or pick a plain wall |
| Glare on glasses | Eyes get lost or misdrawn | Tilt your head a little or angle the glasses |
| Heavy beauty filter already applied | Skin turns plasticky, details vanish | Use the unfiltered original |
| Low-resolution or compressed copy | Pixelated edges, blurry features | Use the original file from your camera roll |
Two small habits help more than people expect when figuring out how to turn photo into cartoon artwork. First, take the picture in daylight if you can. Soft, even light gives the converter clean skin tones and clean outlines. Second, leave a little space around the head. Tight crops cut off hair and ears, and the tool then has to guess what’s missing.
If you’re working with a pet, the same rules apply. A well-lit face at eye level converts much better than a pet photographed from above in a dark room.
How Do I Turn a Photo Into a Cartoon in GIMP?
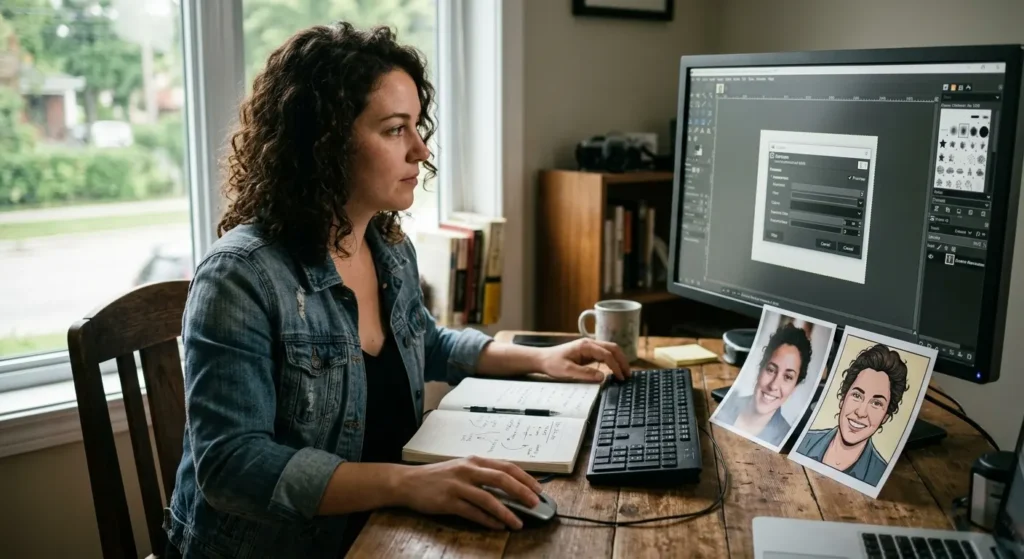
In GIMP, open your photo, choose Filters, then Artistic, then Cartoon, and adjust the mask radius and percent black settings. According to GIMP’s documentation, GIMP’s Cartoon filter makes an image look like a cartoon drawing by darkening areas that are already clearly darker than their surroundings, which creates a result close to a black felt pen sketch shaded with color.
GIMP is a free, open-source editor, so it’s a solid option when you want full control over how to turn photo into cartoon projects, or when you’d rather keep your files on your own computer.
The two settings do different jobs:
- Mask radius controls the size of the areas the filter works with. Large values give thick black areas and much less detail. Small values give subtler pen strokes and keep more detail.
- Percent black controls how much black gets added. Higher values make lines thicker, darker, and sharper. Lower values blend the dark areas more gently.
My starting point is a middle value for both, then I nudge one at a time. I’d also duplicate the layer before applying the filter. That way you can hide the filtered layer, compare it with the original, or lower its opacity to soften the effect.
Here’s a simple workflow:
- Open your photo and duplicate the layer.
- Go to Filters, Artistic, Cartoon.
- Turn on Preview and adjust the mask radius.
- Adjust percent black until the outlines look clean without swallowing the face.
- Click OK, then compare the result to the original layer.
- Export as PNG to keep the quality.
The trade-offs are worth knowing before you commit. GIMP is free, it works offline, and it gives you real control. On the other hand, it has a learning curve, and the Cartoon filter doesn’t know what a face is. It darkens shadows wherever it finds them, so portraits with strong side lighting can end up looking harsh.
Turn Photo Into Cartoon on Your Phone
You can open an online converter in your phone’s browser, or install a photo app that includes cartoon filters. Both take a few minutes and need no editing skills.
I lean toward the browser route for two reasons. You avoid another app asking for permissions, and you avoid the subscription prompts that many photo apps show after the first try. Free tiers on apps often add a watermark, limit resolution, or lock the better styles behind a paywall, so check what you actually get before you spend time on a photo.
A few phone-specific tips:
- Use the rear camera when you can. It usually captures more detail than the front camera.
- Turn off beauty modes and built-in filters before you shoot.
- Don’t send the photo through a chat app first. Compression happens quietly and the cartoon pays for it.
- Pick the highest quality setting if the tool lets you choose.
One more point on privacy. Before you upload a photo of someone else, ask them. That’s especially true for photos of children. Then look at how the service handles uploads, including how long it stores them.
Best Method to Turn Photo Into Cartoon
For most people, an AI converter is the best method for faces and quick results, while an editor like GIMP is better when you want hands-on control. A phone app suits quick edits on the go, and an illustrator is worth it when the cartoon is a gift, a brand asset, or a print piece.
| Method | Speed | Skill needed | Control | Cost | Best for |
| Online AI converter | Seconds | None | Medium | Often free, some limits | Faces, avatars, quick results |
| Desktop editor (GIMP) | Minutes | Some | High | Free | Objects, scenes, custom looks |
| Phone app | Minutes | None | Low to medium | Free with limits or subscription | Edits on the go |
| Hiring an illustrator | Days | None | Very high | Paid | Gifts, branding, print |
If you’re still unsure, I’d try the online converter first. It costs you a minute, and the result tells you whether you need anything fancier. When a photo converts well, there’s no reason to spend an hour in an editor.
Choosing the Right Cartoon Style for Your Photo
Pick the style that fits where the cartoon will be used. A profile picture needs bold, simple shapes that survive being shrunk to a thumbnail. A print needs high resolution and clean lines. A card for a friend can be as playful as you like.
Here’s how I’d think about common situations:
For a social media avatar, choose a classic flat cartoon or an anime look. Fine detail disappears at small sizes anyway, so strong outlines and clear color blocks do the work.
For a gift or greeting card, a 3D animated look or comic style feels warmer and more personal. Pick a photo with a genuine smile, because the style amplifies expression.
For a small business or creator brand, consistency matters more than novelty. Choose one style and use it for every team photo or mascot so the set looks cohesive.
For a classroom or workshop, sketch or line art styles make good coloring sheets and are easy to print in black and white.
If cartoons aren’t quite what you had in mind, the same upload-and-convert idea works for other looks. X2X Converter, for instance, lists Image to Sketch and Image to Ghibli Style tools next to its cartoon converter. The photo tips in this guide apply to those too.
Make a Cartoon Profile Picture From Your Photo
To make a cartoon profile picture, start with a front-facing, well-lit photo, convert it with a cartoon tool, then crop it square with your face centered. A good cartoon profile picture maker keeps your features recognizable, so friends and colleagues still know it’s you.
Cropping is where many avatars go wrong. Most platforms display profile pictures as a circle or rounded square, which clips the corners. Keep your face in the center and leave breathing room around the head and shoulders.
Some practical checks before you upload:
- Shrink the image to thumbnail size and see if it still reads clearly.
- Prefer a plain or softly colored background. It keeps attention on the face.
- Avoid small text or fine details that turn to mush at small sizes.
- Use the same cartoon on your main accounts so people recognize you across platforms.
There’s also a privacy angle. A cartoon avatar can feel safer than a real face, but it still carries your likeness. Anyone who knows you will recognize it, so don’t treat it as anonymous.
Creative Uses for a Cartoonized Photo
A cartoonized photo can do plenty beyond a profile picture. People use them for greeting cards, party invitations, classroom materials, newsletter headers, and social posts. They also work as simple placeholders when you don’t want to show a real face.
For a small business, a cartoon version of the founder or team can give a website a friendlier tone. The key is consistency. If you cartoonize one team member, do the whole team with the same style and similar photo framing, or the page will look uneven.
For families, a cartoon portrait makes an easy last-minute gift. Print it at a decent size and frame it. Just make sure the original photo had enough resolution to survive printing, since a small file will show its limits on paper.
Cartoon Image Download Free: What to Check First
You can get a cartoon image download free from many online converters, but check three things before you save: resolution, watermarks, and usage rights. A free download that’s tiny or stamped with a logo won’t help if you wanted it for a print or a profile banner.
Here’s what I look at each time:
- Resolution. Zoom in on the preview. If edges look blocky, the download probably will too.
- Watermarks. Some free tiers add one. Check whether it appears on the final file, not just the preview.
- File format. PNG keeps quality without extra compression and supports transparent backgrounds. JPG makes smaller files, which suits web use.
- Terms of use. See whether personal and commercial use are both allowed.
Usage rights deserve a second look, because the rules around AI-assisted images are still being worked out. The U.S. Copyright Office has published a multi-part report on copyright rules for AI-generated images. Part 2, released on January 29, 2025, covers the copyrightability of outputs created with generative AI. It says copyright depends on human authorship, that using AI as a tool doesn’t automatically rule out protection, and that prompts alone don’t give users enough control to count as authors of the output.
What does that mean for your cartoon? It depends on the details, and the Office treats these questions case by case. I’m not a lawyer. If the cartoon will go on a product, a logo, or anything you plan to sell, talk to an attorney and read the converter’s terms first.
What Should I Do When the Cartoon Looks Wrong?
When a cartoon looks wrong, change the input before you change the tool. Most bad results come from the photo, not the converter. Work through this table from the top.
| What you see | Likely cause | What to try |
| The face doesn’t look like you | Angled face, shadows, or low resolution | Use a straight-on photo in soft light |
| Lines look messy or noisy | Busy background or heavy texture | Crop tighter or use a plain background |
| Colors look washed out | Flat light or an already filtered photo | Use the unfiltered original, add slight contrast first |
| Glasses or jewelry vanish | Small details lost in processing | Use a higher-resolution photo and reduce glare |
| Edges look pixelated | Small or compressed source file | Use the original file, not a chat copy |
| Hands look strange | Hands are hard for many generative models | Crop them out or choose a pose with hands out of frame |
If you’ve tried a clean photo and a couple of different styles and it still looks off, switch method. Some faces and some lighting conditions simply suit one approach better than another. A face with strong side lighting might look better through GIMP’s filter, where you control the outline strength, than through an AI converter that smooths everything.
Common Mistakes When Cartooning a Photo
Most mistakes come down to rushing the input or the final check. These are the ones I’d watch for.
- Starting with a blurry or heavily compressed photo. The converter can’t invent detail that isn’t there, and it often invents the wrong detail.
- Using a photo that already has a strong filter or beauty mode. Stacking effects leads to plastic skin and strange colors.
- Pushing the effect to the maximum. Extreme settings flatten faces and lose the personality you wanted to keep.
- Choosing a style that doesn’t match the purpose. A detailed 3D look turns to mush as a tiny avatar, and a bold flat style can look too simple on a large print.
- Judging only the thumbnail. Always zoom in and check the eyes, teeth, hairline, and hands.
- Ignoring the background. A cluttered background produces noise that pulls attention away from the face.
- Uploading other people’s photos without asking. It’s a courtesy, and in some cases a legal and privacy concern.
- Assuming commercial use is automatically fine. Check the tool’s terms and the rights to the original photo.
None of these are hard to fix. They just need a minute of thought before you click convert.
Key Takeaways
- Knowing how to turn photo into cartoon graphics effectively depends on your goal: an AI converter for speed and faces, GIMP for control.
- Your source photo matters more than the tool. Sharp, evenly lit, front-facing photos give the best results.
- AI converters learn to recognize faces and features, while classic filters apply the same rules to every pixel.
- Match the style to the use. Bold and simple for avatars, high resolution for print, consistent for brands.
- Before you download, check resolution, watermarks, file format, and usage terms.
- Preview at full size, fix problems at the input, and change one setting at a time.
- Ask before uploading other people’s photos, and talk to a lawyer before using AI-assisted images commercially.
Conclusion
Learning how to turn a photo into a cartoon comes down to two decisions: starting with a good photo, and choosing a style that fits what you’ll use it for. The tool is the easy part. A sharp, evenly lit, front-facing picture and a style that suits your purpose will beat a fancy app with a poor source image.
If you want to see how it works with your own picture, open X2X Converter’s free online tool and turn your photo into a cartoon. Upload a clear photo, review the result at full size, and download the version you like. If the first attempt isn’t quite right, try a different crop or a new photo before you change anything else.
Frequently Asked Questions
What is the easiest way to turn a photo into a cartoon?
The easiest way is an online AI cartoon converter. You upload a photo, choose a style, and download the result, usually within seconds. There’s nothing to install and no editing skills are needed. If you later want finer control over lines and colors, a free editor like GIMP is the natural next step.
Can I turn a photo into a cartoon for free?
Yes. Free online converters and open-source editors like GIMP both work at no cost. Some tools limit resolution, add a watermark, or cap daily uses on their free tier, so check the download settings before you start. GIMP has no such limits, but it takes more time to learn.
Does turning a photo into a cartoon lower image quality?
It can. Cartoon styles remove fine detail by design, and a small or heavily compressed source file gives a blurry or pixelated result. Start with the original, full-resolution photo and save the cartoon as a PNG when the tool allows it. That avoids extra compression.
What type of photo works best for a cartoon?
A sharp, evenly lit, front-facing photo with one clear subject and a simple background works best. Avoid harsh shadows, glare on glasses, busy patterns, and photos that already carry strong filters. Natural window light gives cleaner skin tones and outlines than a flash in a dark room.
Can I cartoonize a pet or a group photo?
Yes, though results vary. Pets usually convert well when their face is clear and well lit. Group photos are harder, because small faces lose detail and the tool has to restyle several people at once. For the best result, crop to one or two subjects and use a larger version of the picture.
Is it safe to upload my photo to an online cartoon converter?
It depends on the service. Read the privacy policy to see how long uploads are stored and whether they’re used for anything else. Avoid uploading photos of children, IDs, or sensitive documents unless you trust the service. If privacy is a priority, a local editor like GIMP keeps files on your own device.
What’s the difference between a cartoon effect and a caricature?
A cartoon effect restyles a photo with outlines, flat colors, and simplified shading while keeping proportions close to the original. A caricature deliberately exaggerates features, like a larger head or bigger smile, for humor or emphasis. Most automatic converters do the first. Caricatures usually need a dedicated tool or an artist.
Can I use my cartoon image commercially?
That depends on the tool’s terms and on the photo itself. You need the right to use the original picture, and the converter’s license must allow commercial use. Copyright rules for AI-assisted images are still developing. I’m not a lawyer, so check with one before putting a cartoon on a product or brand.
Why doesn’t my cartoon look like me?
Usually the source photo is the problem. Side angles, harsh shadows, wide-angle selfie distortion, and low resolution all make it harder for a tool to keep your features. Try a straight-on photo taken at arm’s length or farther, in soft light, and compare a couple of different styles.
Can I turn a photo into a cartoon without Photoshop?
Yes, you don’t need Photoshop. A browser-based AI converter handles it in a few clicks, and GIMP is a free desktop alternative with a built-in Cartoon filter. Phone apps are another option. Pick based on how much control you want and how much time you have.